Table of Contents
- What is E2E Testing?
- Introduction to Cypress
- Bootstrapping a Gatsby Application
- Setting Up the Test Environment
- Writing Our First Test
- Tests for Blog Post
What is E2E Testing?
E2E or End-to-End testing involves testing an application from an end user's perspective. Objectives of this testing mechanism is to verify component and data integrity. E2E also allows developers to test the data flow in the UI similar to what an end user will experience. It also involves testing an application on various devices to ensure that it looks good and checks all the boxes of responsiveness.
Introduction to Cypress
Cypress is a testing library for the web and writing end-to-end tests couldn't be much simpler. It is developed with modular architecture in mind, which allows for it’s functionality to be extended using plugins or by hooks. Cypress allows running cross browser tests which are very essential and ensure that our web application looks and functions the same in most of the browsers, I said most of the browsers because Cypress only supports Chromium based browsers & Firefox. Also, when running Cypress in CI (headless) mode, it generates videos of the specified tests and screenshots of the failing tests which can be used to identify what is causing them to fail.
Bootstrapping a Gatsby Application
Getting started with Gatsby is fairly simple, you can either start with a provided starters or bootstrap an application from scratch. We are going to use Gatsby Starter Blog in this guide.
git clone https://github.com/gatsbyjs/gatsby-starter-blog.git
Setting Up the Test Environment
As we have the app ready, the next step is to install Cypress as a devDependency. We will also need an additional package start-server-and-test which, as the name implies, will start the application server and run the specified test command. This is required for running tests on a CI server like Github Actions, Travis CI or the CircleCI.
npm i cypress start-server-and-test --save-devThe following scripts are to be added in the package.json:
{
  "scripts": {
    "cy:open": "cypress open",
    "cy:run": "cypress run",
    "test:e2e": "start-test develop 8000 cy:open",
    "test:e2e:ci": "start-test develop 8000 cy:run"
  }
}
Let's understand each of these scripts.
cy:open- used to run tests in a browser. Cypress provides an interface from where tests can be executed in an automated browser environment.cy:run- used to run tests in a CI environment. Tests will run in the terminal without opening any kind of browser. By default, tests will be executed in a headless Electron environment. You can also run tests in other supported browsers.test:e2e- Cypress does not start the development server by itself, the packagestart-server-and-testwill do that for us. Running this command will first start the development server, executecy:openwhich will run the tests. This script has 4 parts - start-test being the package itself, develop is the script which starts the development server, 8000 is the port on which Gatsby starts the development server, cy:open is the script to run tests.test:e2e:ci- Similar to the above script but for CI environments.
The start-test part in test:e2e is an alias. Read the documentation for more options.
Before proceeding, we need to allow Cypress to create few directories where we can start writing tests. In the terminal, execute yarn cy:open which should open the Cypress application and prompt you to confirm whether you want to create directories or not. Doing so will create a bunch of example test files which you can safely delete.
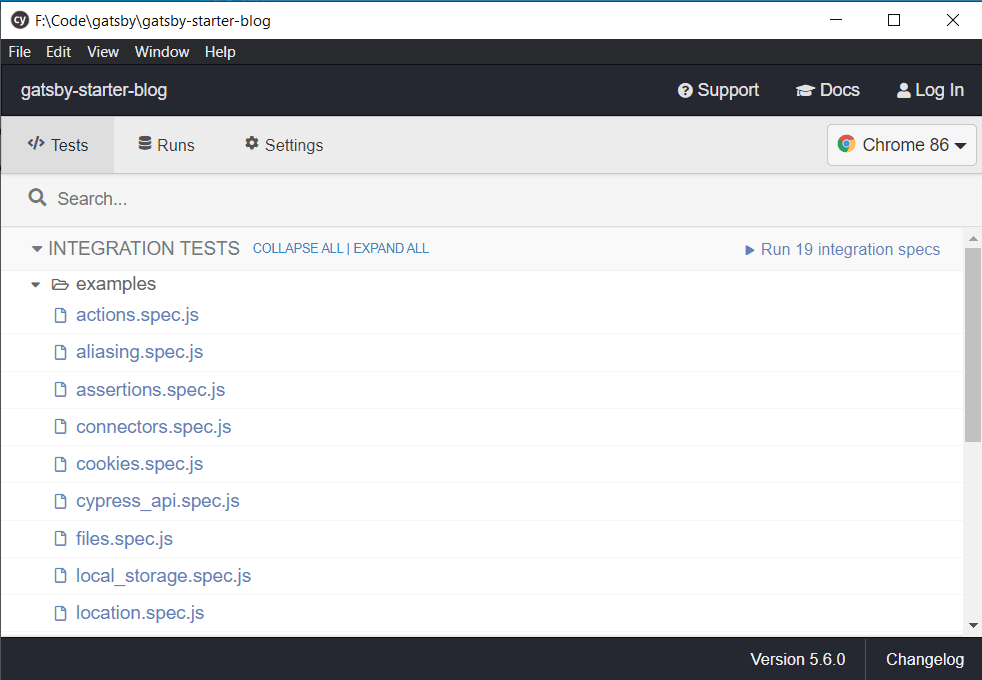
After deleting the generated test files, application directory structure should be similar to the figure shown below.
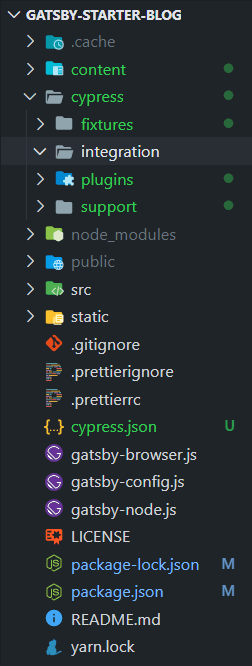
In the cypress.json file, we need to add baseUrl for Cypress to load the website. Other configuration options can be found on the documentation page.
{
  "baseUrl": "http://localhost:8000"
}As mentioned in the introduction, Cypress will generate videos of all tests & screenshots of the failing tests, so you should consider adding cypress/videos & cypress/screenshots to the .gitignore file.
Writing Our First Test
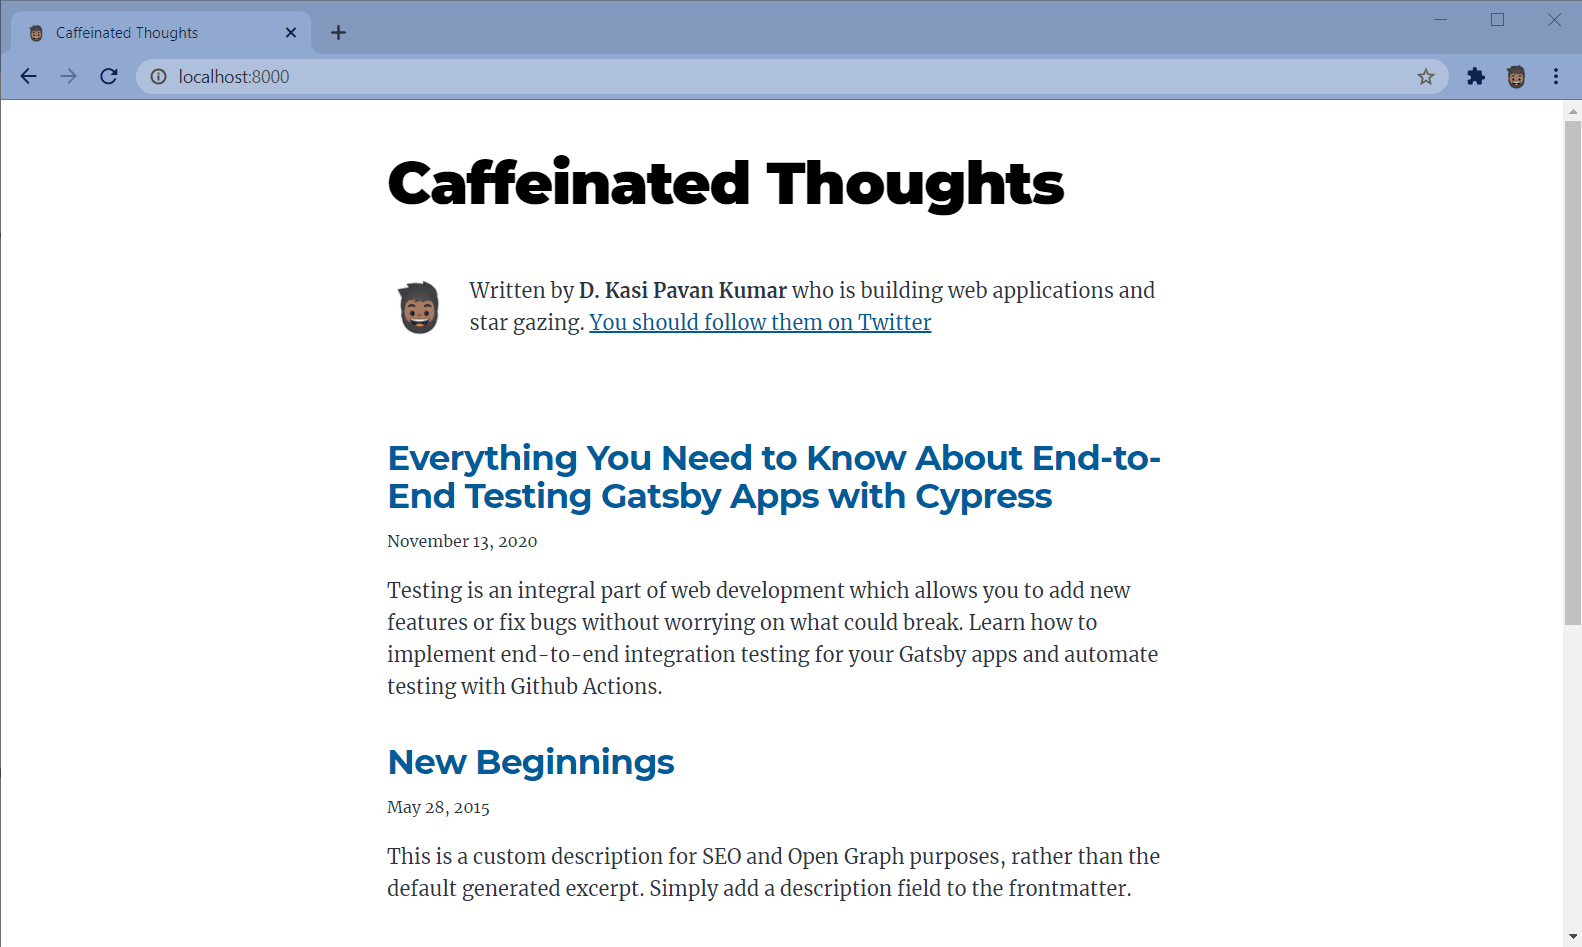
I have modified the gatsby-starter-blog with some minor changes. The title ‘Caffeinated Thoughts’ looks quite bold and grabs the attention, so why not write our test and assert that it does exist on the homepage?
Create a file in cypress/integration named homepage.spec.js with the following code.
// For VSCode Intellisense (autocomplete suggestions).
// https://docs.cypress.io/guides/tooling/intelligent-code-completion.html#Triple-slash-directives
/// <reference types="Cypress" />

describe("Homepage", () => {
  // Visit homepage before running any tests.
  before(() => {
    cy.visit("/")
  })

  it("should contain title with text `Caffeinated Thoughts`", function () {
    // Asserting the existence of title with text
    // `Caffeinated Thoughts`
    cy.contains("h1", "Caffeinated Thoughts")
  })
})
Voila! We have written our very first test. Let's break it down to understand what is going on here.
The syntax is very similar to that used in some famous testing libraries like Jest, Mocha & Chai.
-
The
describeblock is used to group similar kinds of tests and is called a test suite. It also has an aliascontext, which can be used interchangeably, but we’ll stick withdescribeas it conveys more semantic meaning. -
before()is a function (hook to be specific) which is executed once before all tests. In Jest, thebeforeAll()is an equivalent hook. -
it()is where you define the actual test. This is similar to thetest()from Jest. When paired withdescribe(), it conveys better semantics.
Now, the test will read like - Before running any tests, visit homepage (/) then look for a title (h1) with text Caffeinated Thoughts.
cy.visit("/"); is important here, without which our test would fail as Cypress doesn't know where to start.
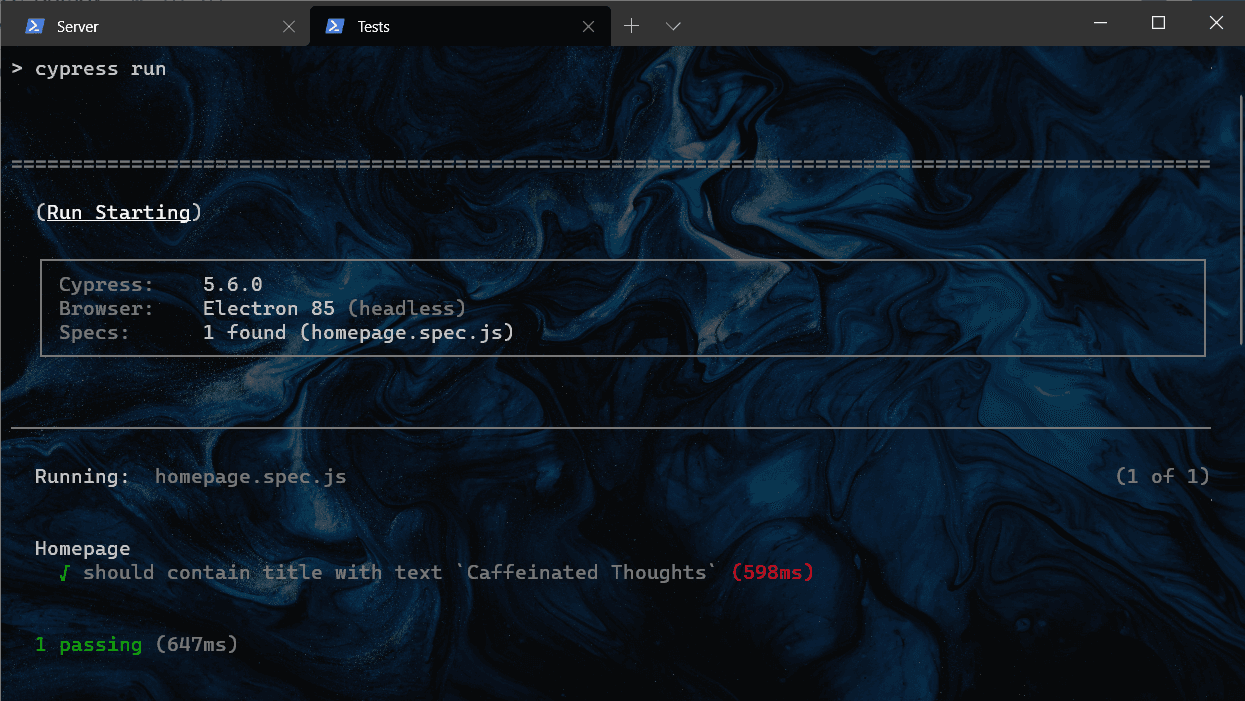
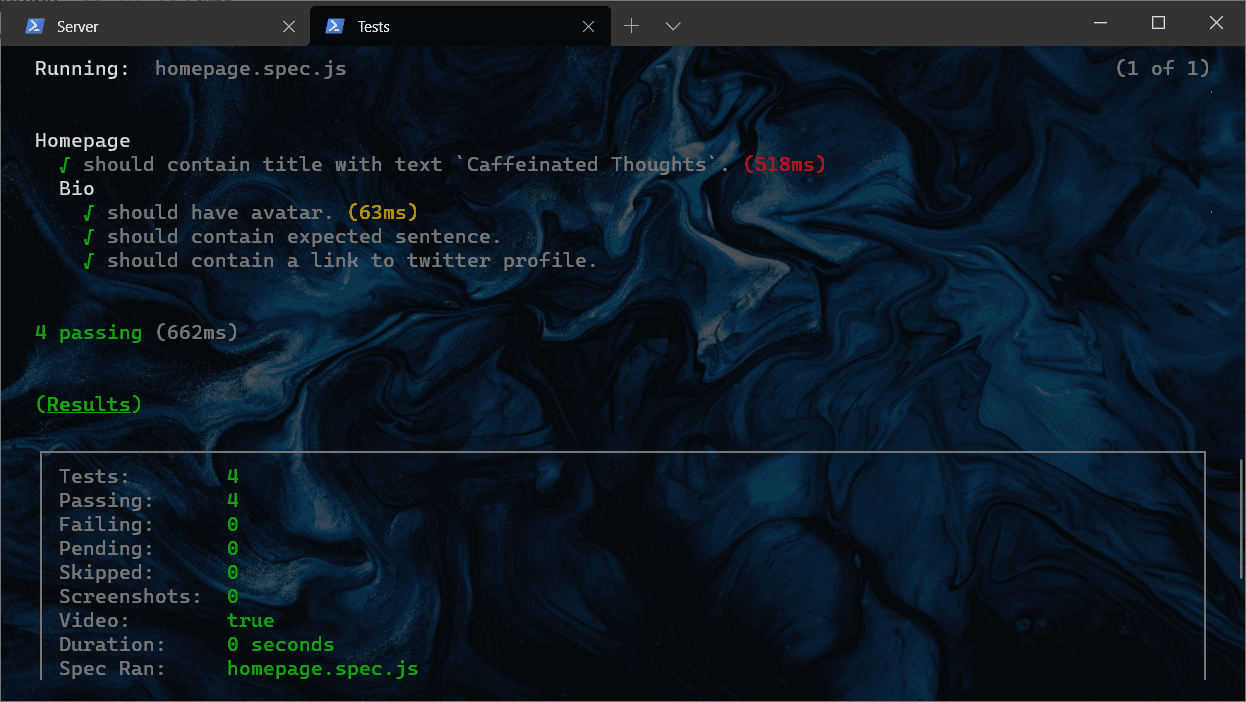
In the terminal, execute npm run cy:run and watch our very first test pass.
Further, let's add a few more tests to assert the presence of Bio along with its components like avatar, the phrase & link to Twitter profile.
// For VSCode Intellisense (autocomplete suggestions).
// https://docs.cypress.io/guides/tooling/intelligent-code-completion.html#Triple-slash-directives
/// <reference types="Cypress" />

describe("Homepage", () => {
  // Visit homepage before running any tests.
  before(() => {
    cy.visit("/")
  })

  it("should contain title with text `Caffeinated Thoughts`.", function () {
    // Asserting the existence of title with text
    // `Caffeinated Thoughts`
    cy.contains("h1", "Caffeinated Thoughts")
  })

  describe("Bio", () => {
    it("should have avatar.", function () {
      cy.get(".bio-avatar").should("exist")
    })

    it("should contain expected sentence.", function () {
      cy.contains(
        "p",
        /Written by D. Kasi Pavan Kumar who is building web applications and star gazing./i
      )
    })

    it("should contain a link to twitter profile.", function () {
      // Assert there exists a link to Twitter profile.
      cy.get("a[href='https://twitter.com/dkpk_']").should("exist")
      // Invalid link should not exist.
      cy.get("a[href='https://twitter.com/dkpk']").should("not.exist")
    })
  })
})
Since Bio is a part of homepage, we have nested it inside the homepage test suite and grouped similar tests inside a describe() block.
Tests for Blog Post
Next thing to test are the blog posts. There are multiple posts and will increase as you add more posts. Although you can dynamically generate tests for all the posts, it is not required. Testing any one of the posts should be enough. Create another file named blogpost.spec.js and start writing tests.
Site Header
Every post should have a header with a link to the homepage.
<header class="global-header">
  <a href="/" class="header-link-home">Caffeinated Thoughts</a>
</header>it("should have header.", function () {
// Get header by class `global-header`.
// Within header, there should be a link to home
// with text `Caffeinated Thoughts`.
cy.get('header[class="global-header"]').within(($header) => {
cy.get('a[class="header-link-home"]').then(($link) => {
expect($link).to.contain("Caffeinated Thoughts")
})
})
})Notice the within() function, it allows asserting nested DOM elements. In this case, the link to the homepage is nested inside the header, we test the same.
Post Semantics
A post should be wrapped inside an article tag. The article tag should have a class of blog-post and two attributes - itemscope and itemtype.
it("should have article.", function () {
  cy.get('article[class="blog-post"]').then(($article) => {
    expect($article).to.have.attr("itemscope")
    expect($article).to.have.attr("itemtype", "http://schema.org/Article")
  })
})
Here, we need to assert the existence of multiple attributes on a single element. One way to achieve this is by chaining then(). cy.get() will return a jQuery HTML element which can be accessed by $element.
Post Header
A post header should contain a title along with it’s published date,
describe("Header", () => {
  it("should title with itemprop headline.", function () {
    cy.get('h1[itemprop="headline"]').should("exist")
  })

  it("should have article published date.", function () {
    cy.get(".published-date").should("exist")
  })
})
Post Body (Content)
Asserting the existence of the post body.
it("should have article body (content).", function () {
  cy.get('section[itemprop="articleBody"]').should("exist")
})
Footer
Tests for footers are very much similar to the bio tests from the homepage.
describe("Footer", () => {
  it("should exist.", function () {
    cy.get("footer").should("exist")
  })

  it("should have bio.", function () {
    cy.get(".bio").should("exist")
  })

  describe("Bio", () => {
    it("should have avatar.", function () {
      cy.get(".bio-avatar").should("exist")
    })

    it("should have expected phrase.", function () {
      cy.contains(
        "p",
        /Written by D. Kasi Pavan Kumar who is building web applications and star gazing./i
      )
    })

    it("should have link to Twitter profile.", function () {
      cy.get('a[href="https://twitter.com/dkpk_"]')
    })
  })
})
Link to previous or next post
Every post should have a link to the previous or next post below the footer.
it("should have link to previous blog post.", function () {
  cy.get('a[rel="prev"]').should("exist")
})
The full source code for blogpost.spec.js can be found here.
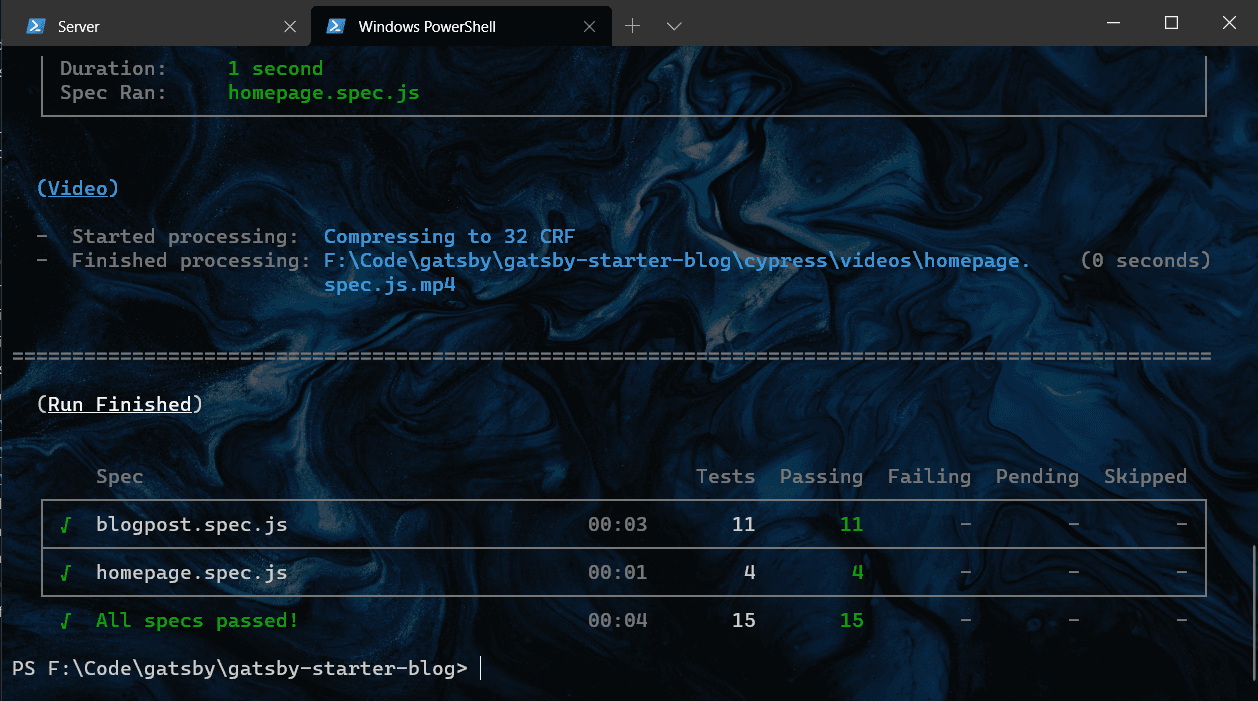
To conclude, we have written 15 tests in total. I wouldn't say that these are more than enough for your app but with this knowledge, you can write and test almost everything on your app. You should aim for 99-100% of test coverage.
Further, you can add husky for running the tests before committing any changes. A CI like Github Actions, can also be configured to run tests on every push or pull request.
With all these tests in place, you can implement new features, upgrade dependencies without worrying about breaking anything.
Full source code for this website along with the tests can be found on Github and website can be accessed at https://caffeinated-thoughts.vercel.app