Table of Contents
Introduction
Websites are the most accessible piece of tech you can build which, regardless of the device, can be accessed by anyone, provided an internet connection & a browser, which most of the population (59% to be precise) has access to. The purpose of building a website can be anything as in personal blogs, portfolio to showcase your fantastic work or a project page. The notion that you should be a web developer or have some programming knowledge keeps a lot of people from building websites. This is where visual website builders come into the play. The goal of these services is to help people build websites with a minimal to zero knowledge of programming.
But, there are tons of services out in the wild & choosing them can be quite a task. Wordpress is undoubtedly the most popular service in this category. Few other notable services include Webflow, Squarespace, Blogger, Weebly.
As a part of its office suite, Google has a service known as, well, Google Sites, that is not well known but offers some interesting features at zero cost, all you need is a Google account. Let's dive into what Google Sites has to offer & what you can build with it.
What is Google Sites?
Google sites is a structured & collaborative website builder. Structured as in, websites can have multiple pages and collaboration is the nature of Google's office suite as a whole, which allows for multiple authors to work on the same subject, it applies to Google Sites as well.
User Experience
In 2016, Google Sites received its Material Design revamp which gave it a complete new look & also brought some new templates for designing modern looking websites.
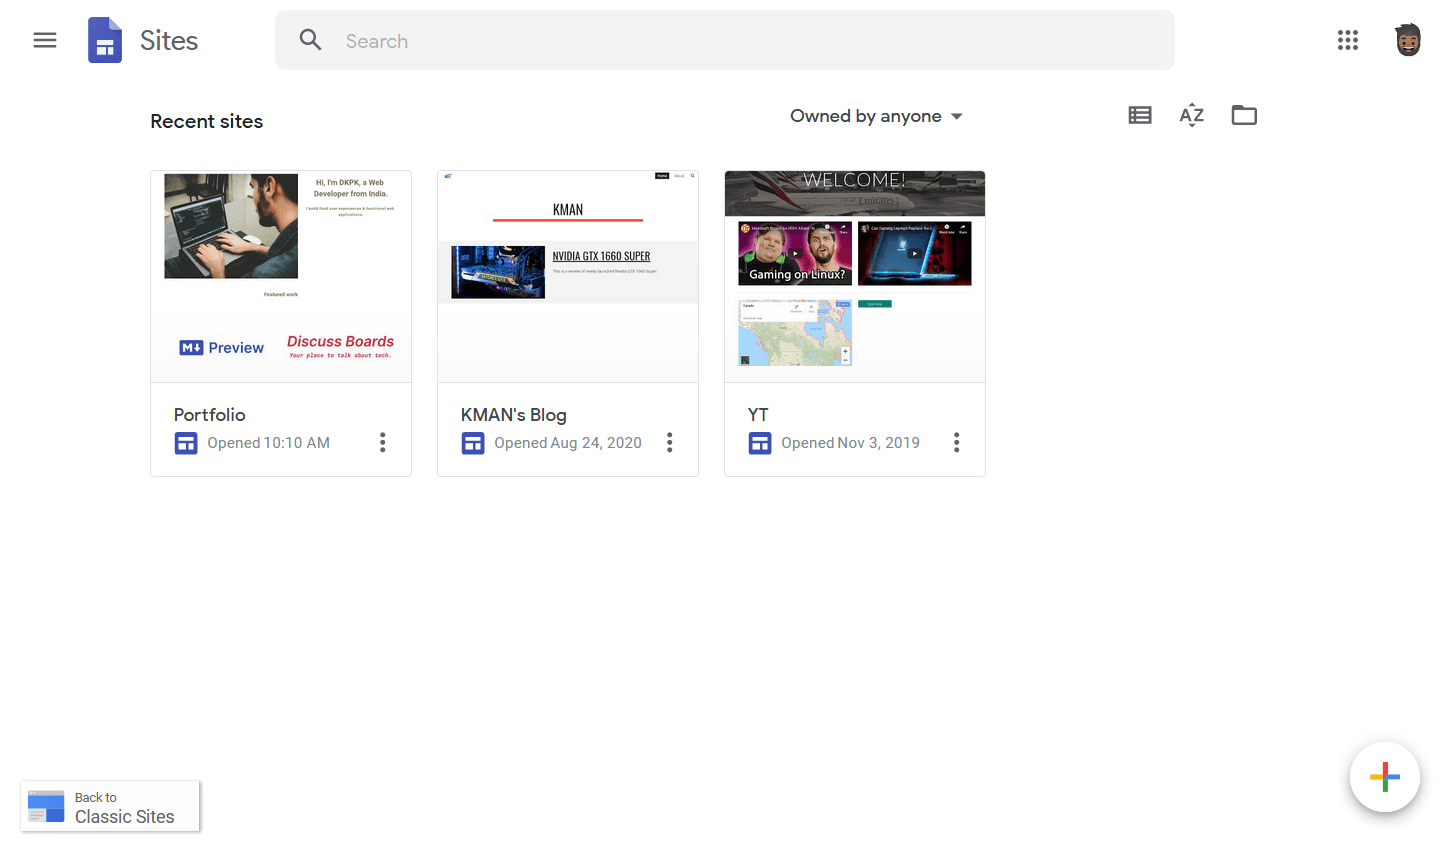
Google Sites works best only on large screens as on laptops, desktops or tablets. This is a caveat of this service as compared to other services like Wordpress & Squarespace.
Building a Portfolio & Blog
To see what Google Sites has to offer, I built a portfolio to show few of my projects along with a blog where I can write articles. I'll guide you through the process from scratch. Let's start by creating a blank website. A blank site can be created using the + icon at the bottom right location on the homepage. On creating a blank site, UI would look as shown below.
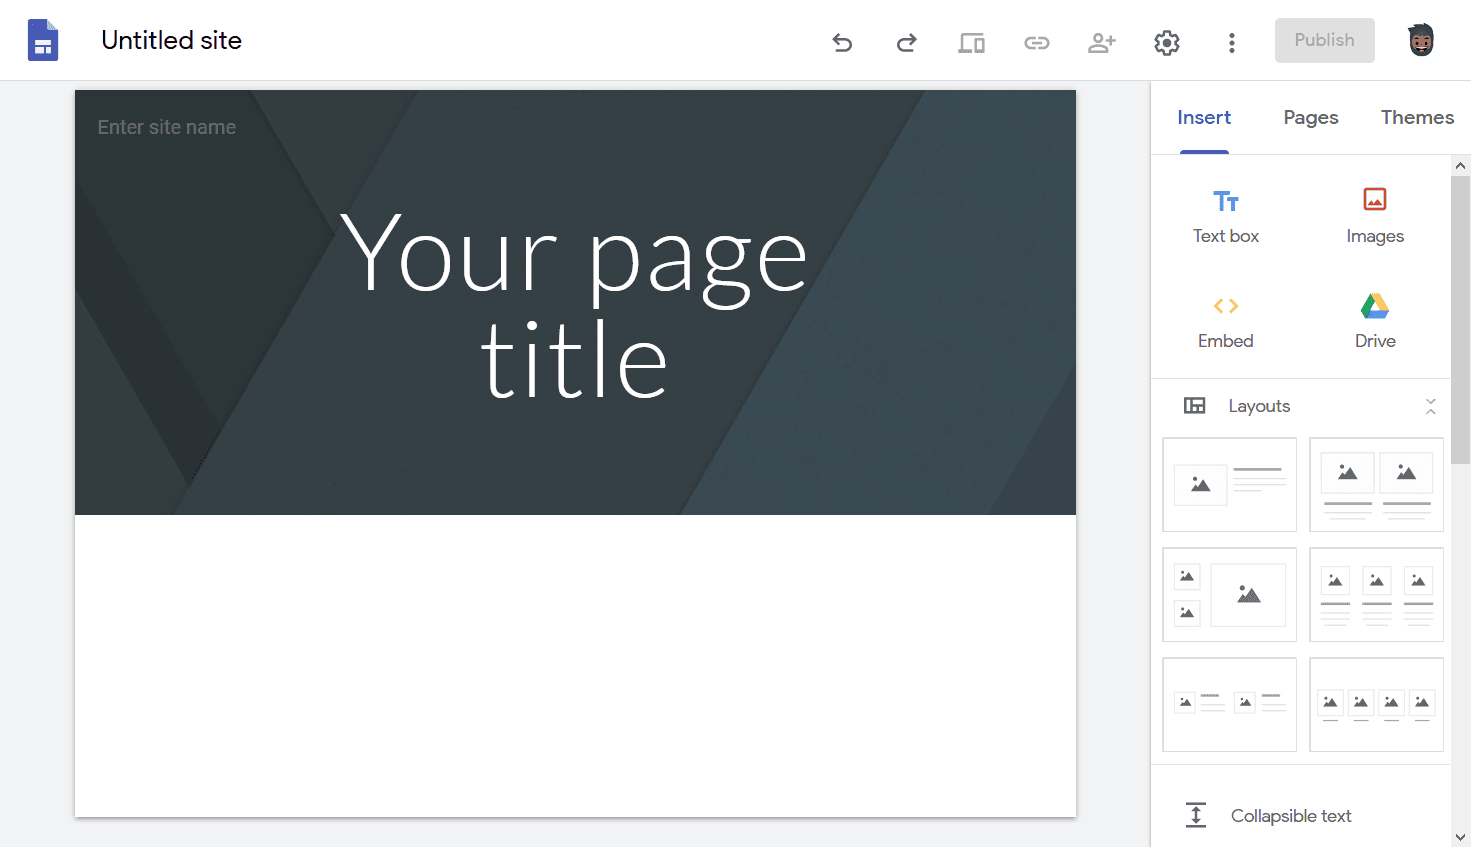
You'll be presented with a choice to start with any one of the preset templates, feel free to select one but we'll start with the base template.
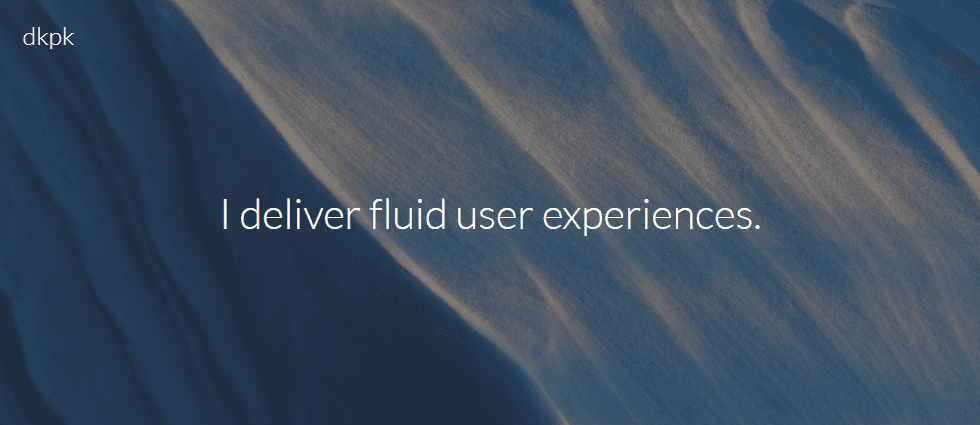
Start editing the header with some text. In place of the site title, you can upload an icon of your choice. Background image of the header section can also be replaced either with your own or from predefined set of images.
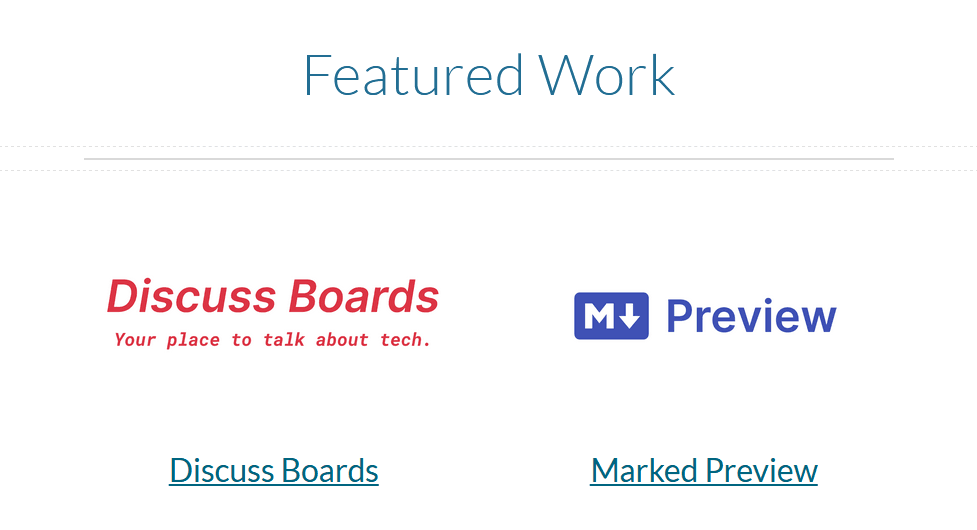
Right below the header, I'd like to add my featured work. For this, select two column layout from the layout section.
We can add a footer to show details like copyright, author, etc. When hovered on the bottom part of the site, a popup with "Add Footer" will be visible which will add a footer on click.

Adding Blog
As mentioned earlier in this article, a site built with Google Sites can have multiple pages which makes it ideal for blogging. To add a new page, select the "Pages" tab from the right panel & click on the + icon at the bottom which will bring up a modal which looks like this.
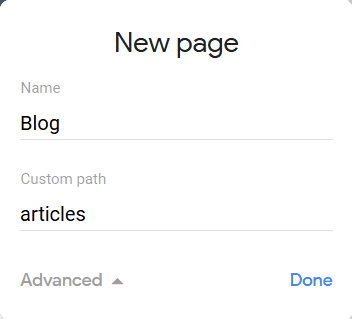
Set the name as "Blog" & expanding the Advanced section will enable you to set a custom path for the page. For instance, for my blog, I'd like to have a path of /articles.
Header & Footer will be shared throughout your site. So, you can focus on the body content.
Using layout, let's create posts at the blog page which will look similar to this.
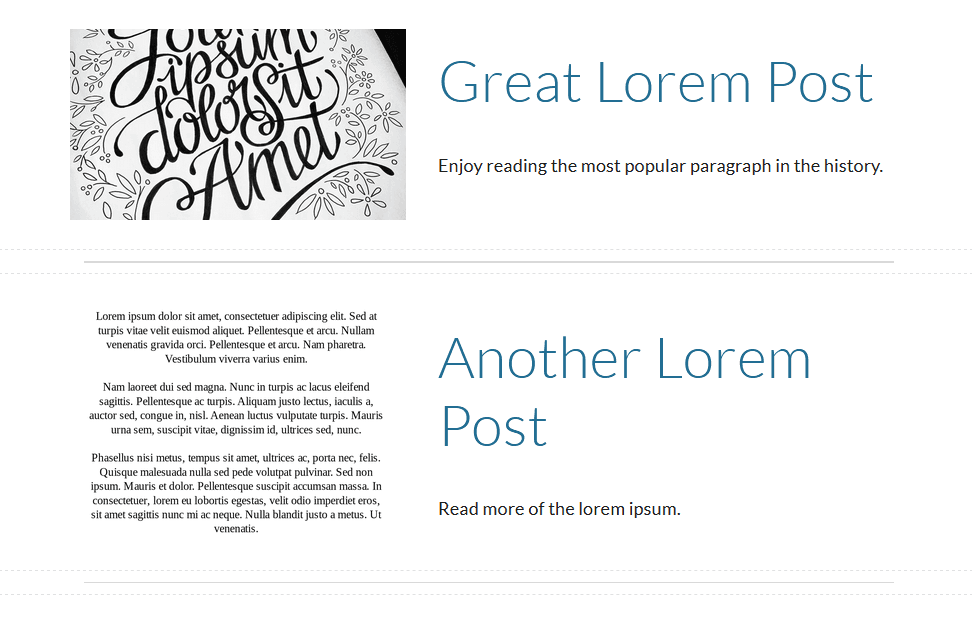
Let's add a page for each post to show the whole content. We can achieve this by adding subpages to the blog page. Under the "Pages" tab, hovering on the Blog page will bring up a menu (three dots) under which the option of adding a subpage can be located.
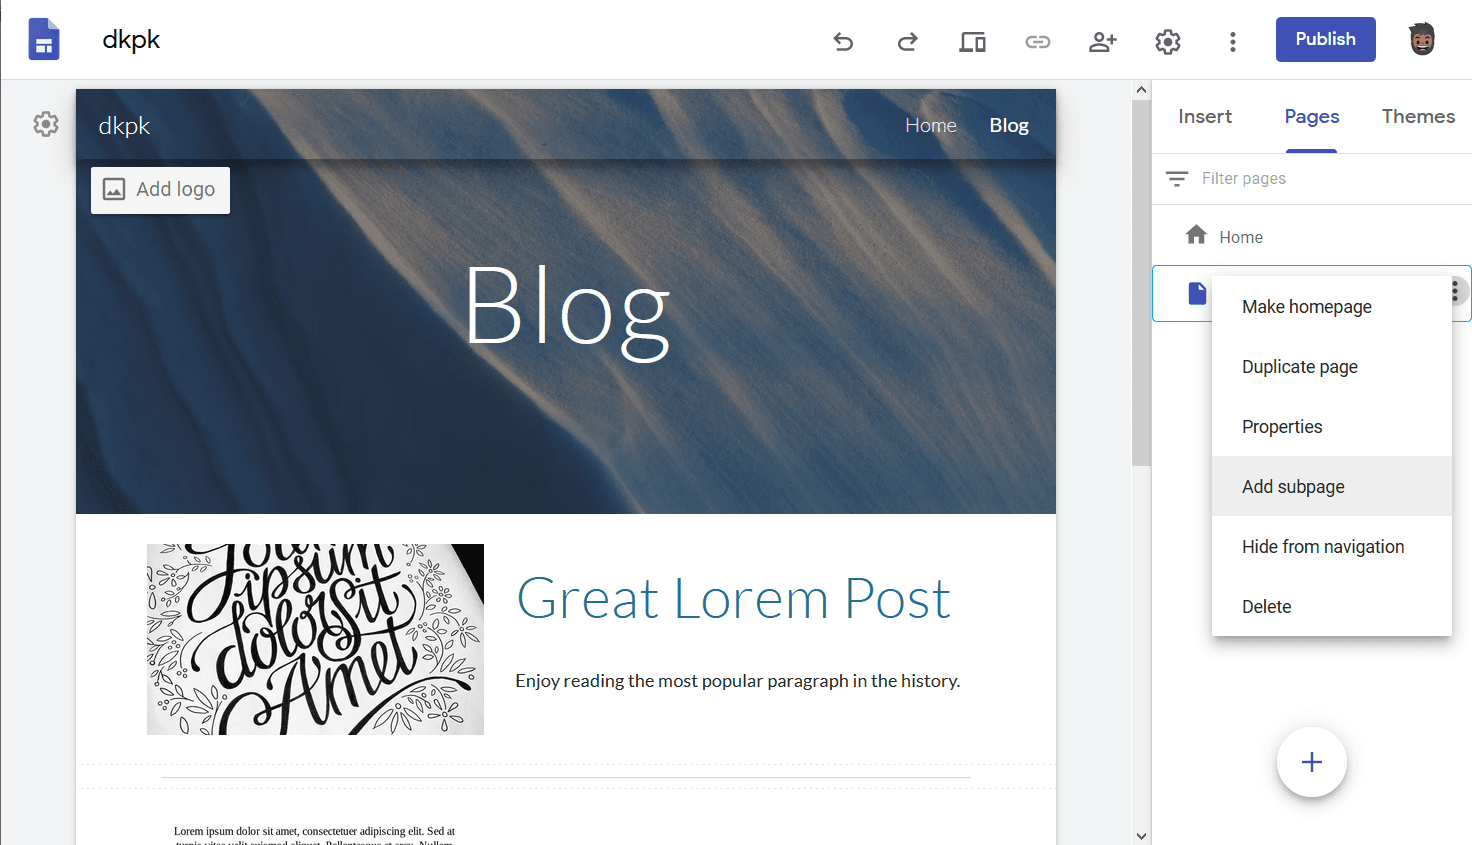
On selecting "Add subpage" you'll be prompted with the same aforementioned modal. Give the subpage an appropriate title & path. Subpage being successfully added, the parent page will now have a dropdown displaying all the subpages.
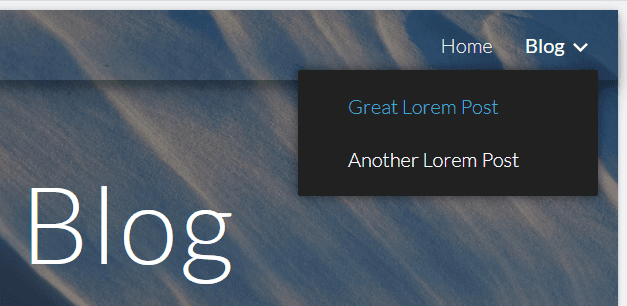
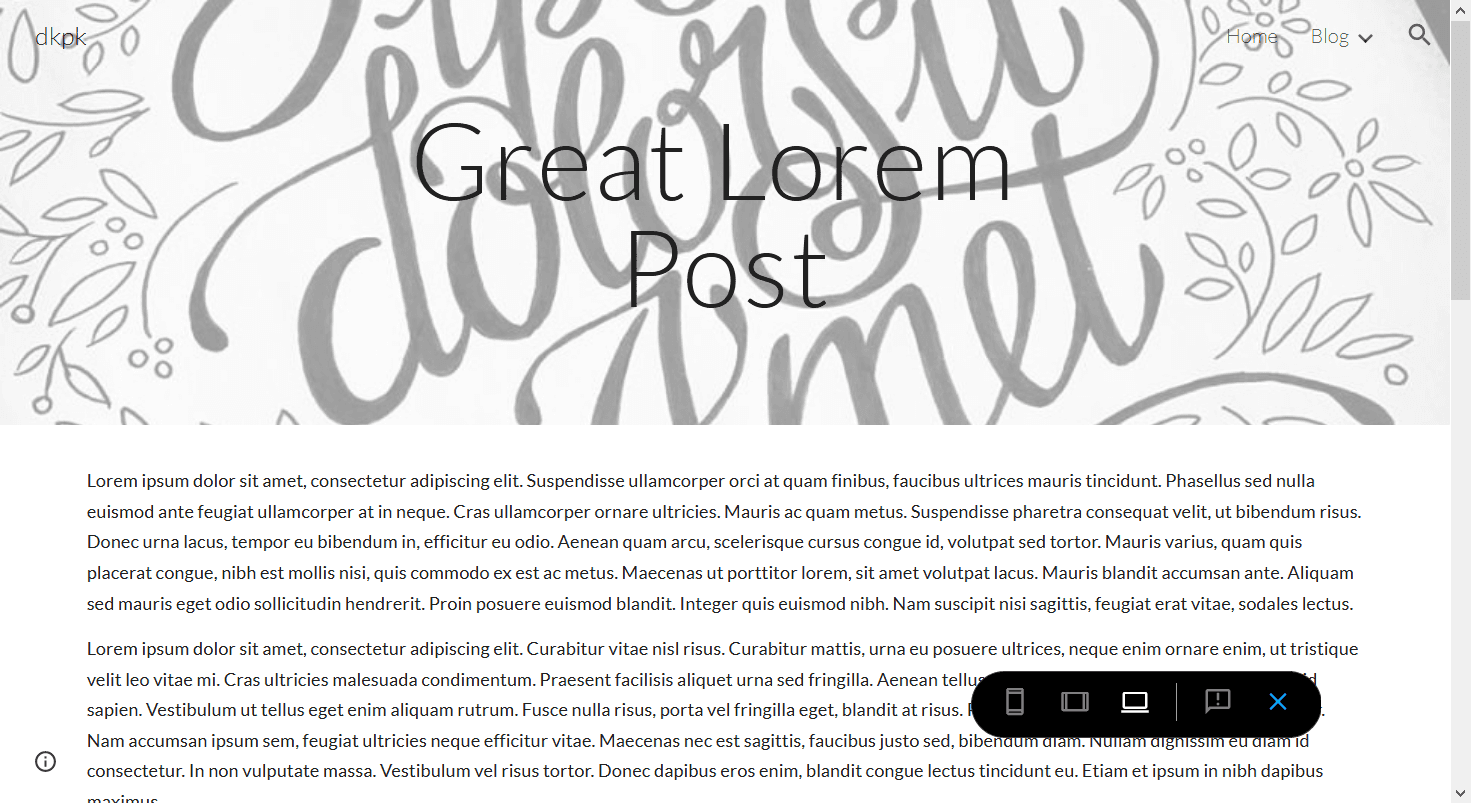
Clicking on any one of them will enable editing of that page. Now, we'll add some content to the "Great Lorem Post" & that content will be 10 paragraphs of Lorem Ipsum generated at Lipsum. You can use the preset layouts to customize the post layout. Repeat the process for each blog post you want to create.
Preview
The ![]() icon on the top app bar can be used to preview your website before publishing. How the website looks here is how it will look like when published to the web. There are 3 preview modes - laptop, tablet & mobile so, you can check responsiveness of your website.
icon on the top app bar can be used to preview your website before publishing. How the website looks here is how it will look like when published to the web. There are 3 preview modes - laptop, tablet & mobile so, you can check responsiveness of your website.
Publishing to the web
Now that we've finalized our website's design & content, it's time to publish to the web so that anyone from any part of the globe can access your awesome content. You can initiate publish by clicking  button on the top app bar which will bring up a modal as shown below.
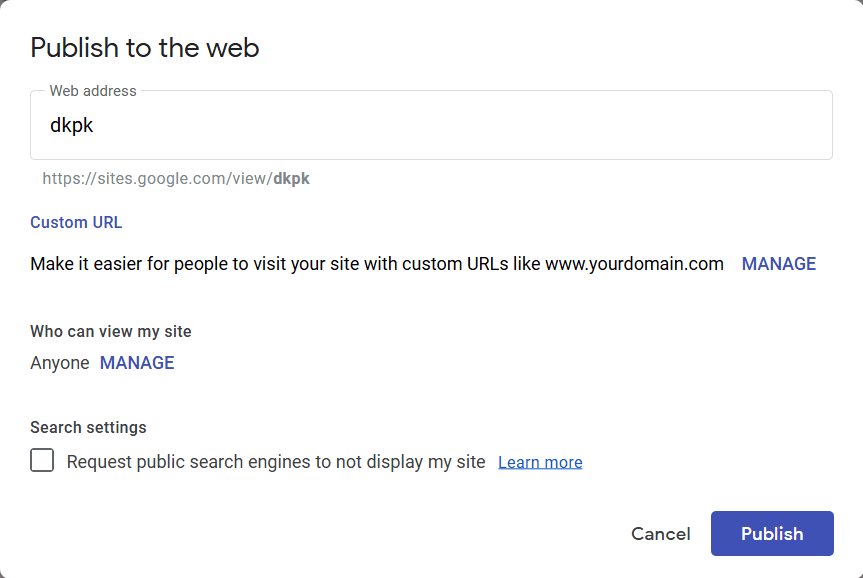
Here, you need to give a name to your website's public URL, for instance, here it's set to "dkpk" & the resulting URL is shown right below it. If you have bought your own domain, you can also assign it at this moment.
The website we made throughout this article can be accessed by the URL - https://sites.google.com/view/dkpk
You can also assign a custom domain at any time. Refer this article for more information.
Conclusion
As is the case with any service, Google Sites has its own pros & cons. Let me define them so you can decide whether it is the right service for you or not.
Pros
- Free of cost.
- No upper limits on the number sites you can design.
- Very powerful collaboration options. Good if your site has multiple designers.
- All the templates are mobile friendly (responsive).
- Option to add Google Analytics, if you're into that.
- Option to add your own logo & favicon to the site.
- Option to add a custom domain.
- Ability to preview on various device sizes before publishing the site to the public.
- Ability to embed HTML from other websites.
- Ability to view changes from the previous versions & rollback if required.
- Ability to unpublish the site should anything go wrong.
- Each site can have any number of pages.
Cons
- Limited theme selection. Only 6 themes to choose from, with options to customize each as in colors & fonts.
- Although the components of your website can be moved around for your own layout, there are only 6 predefined layouts.
Neutral
- All the media you upload will take up storage on your Google Drive, i.e., 15GB. Apart from the files stored in your Drive, you should have ample of space to work with.
- By default, all the sites will have a domain of https://sites.google.com/view/your-website-name but as mentioned you can add a custom domain.
That all being done, you have a live website & can customize it to your liking.
See you in another article. Peace! ✌️